How to Photograph Satellites: A Comprehensive Guide
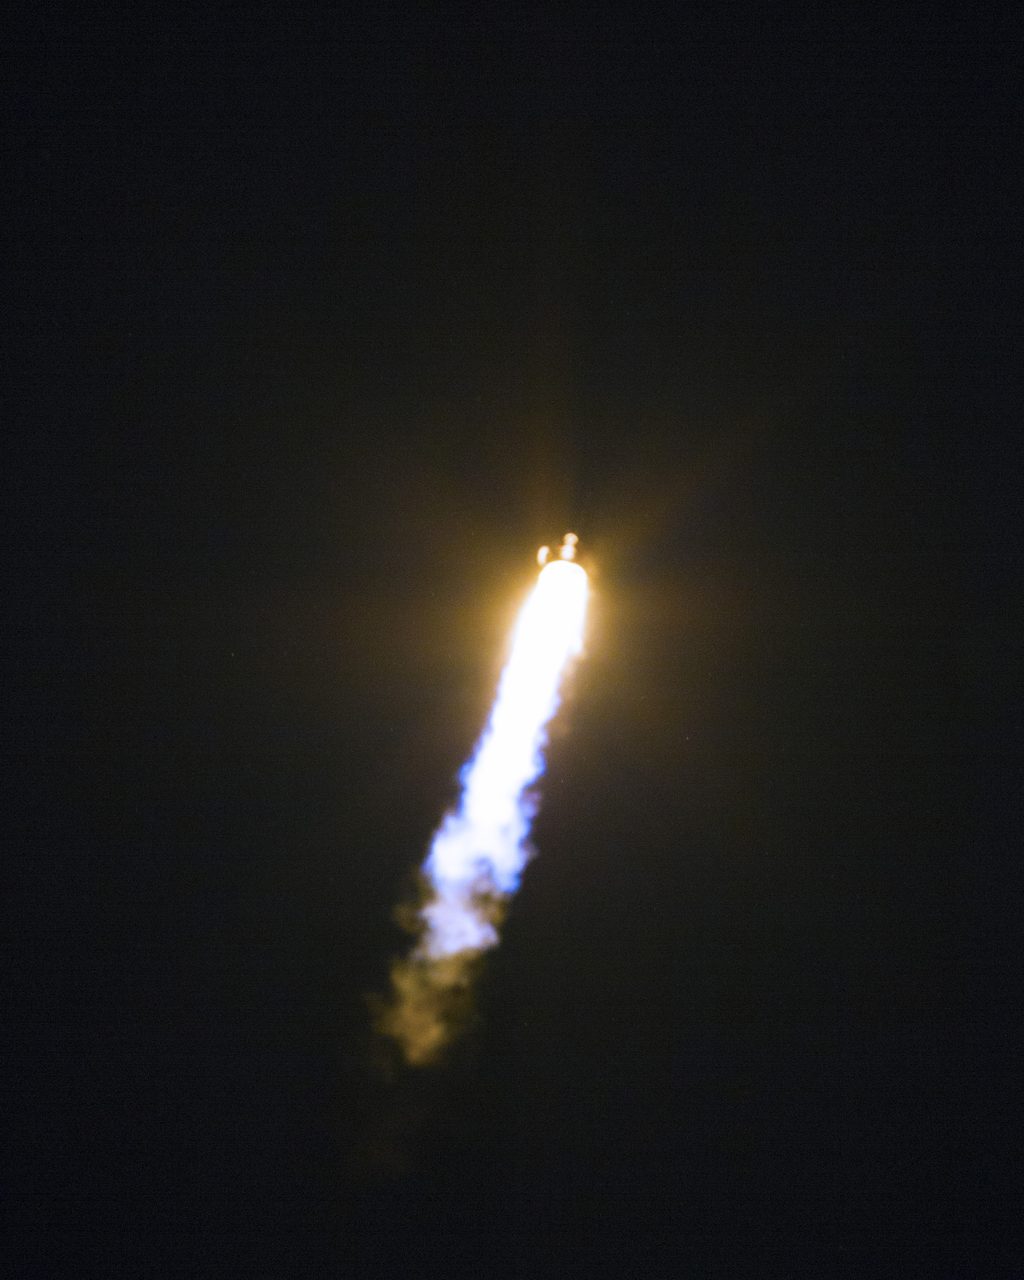
Discover how to photograph satellites and the ISS with expert guidance on equipment, timing, and techniques for stunning results.
Photographing satellites, including the International Space Station (ISS), involves capturing these moving objects as they traverse the night sky. With over 18,000 active satellites currently in orbit, including 10,697 Starlink satellites, there are ample opportunities for enthusiasts to hone their skills. This guide provides essential tips and techniques for successful satellite photography.
Understanding Satellite Orbits
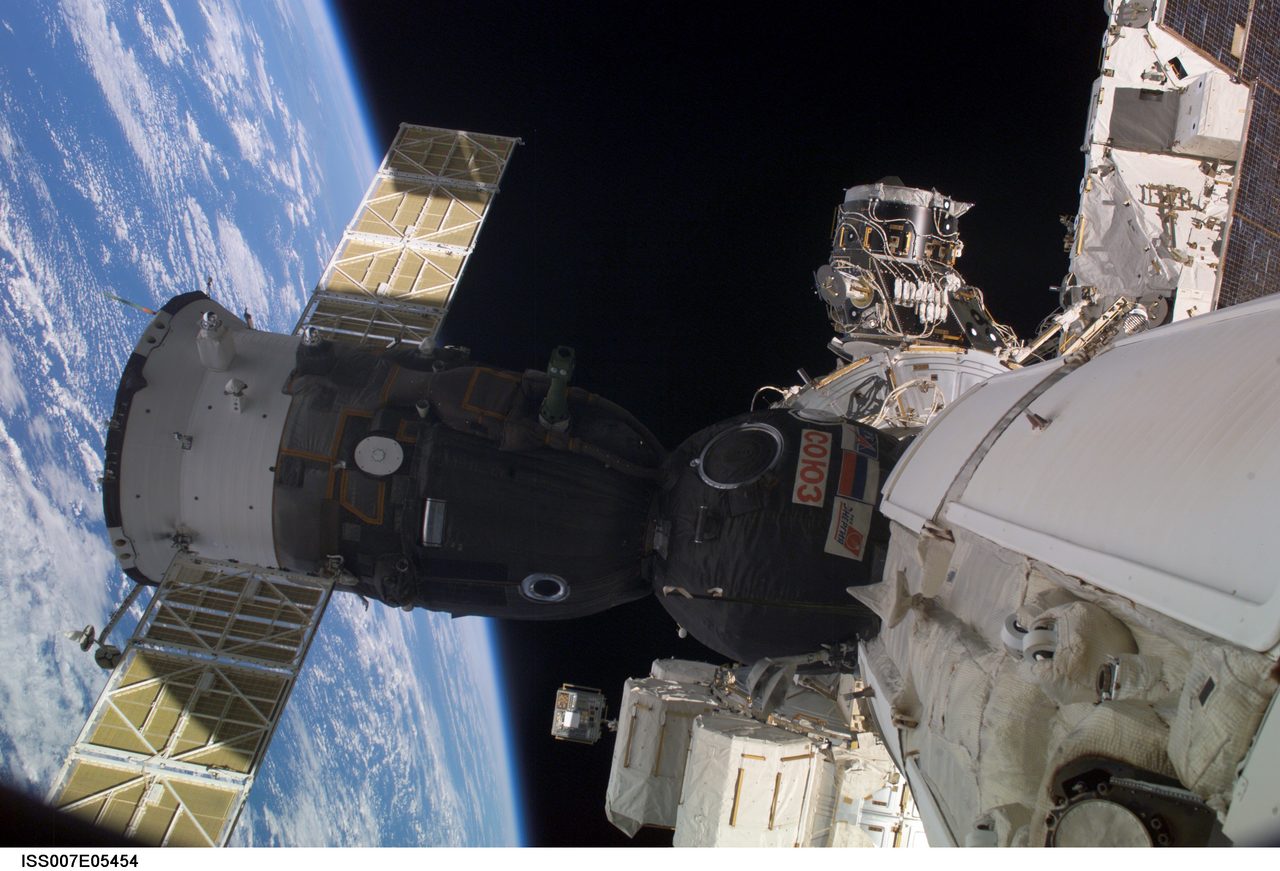
Satellites orbit Earth at various altitudes and inclinations, affecting their visibility from the ground. Low Earth Orbit (LEO) satellites, such as the ISS, orbit at altitudes between 200 and 2,000 kilometres and are often the easiest to photograph due to their brightness and speed. The ISS, for example, orbits at approximately 420 kilometres and completes an orbit roughly every 90 minutes. Understanding these parameters helps in predicting when and where a satellite will be visible.
Choosing the Right Equipment
A DSLR or mirrorless camera with manual settings is ideal for satellite photography. A lens with a focal length of 50mm or higher will help capture more detail. A sturdy tripod is essential to keep the camera stable during long exposures. For beginners, a smartphone with a night mode can also capture bright satellites, though with less detail.
Timing Your Shot
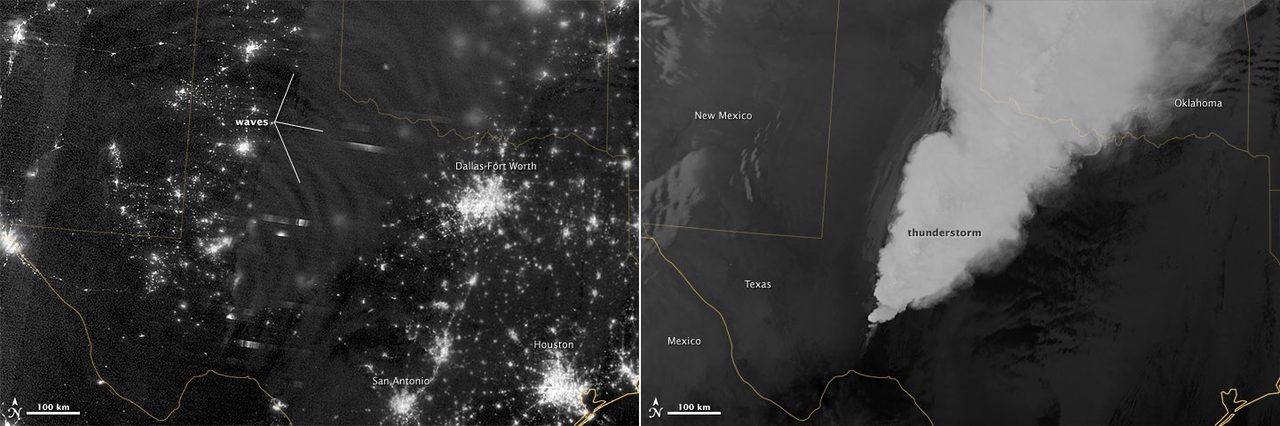
Timing is crucial when photographing satellites. The best time is during twilight, when the sky is dark enough to see the satellite but still illuminated by the sun. The Orbital Radar pass predictor can help determine the best times to view and photograph satellites from your location. This tool provides detailed information on visible passes, including the ISS and other bright satellites.
Techniques for Capturing Movement
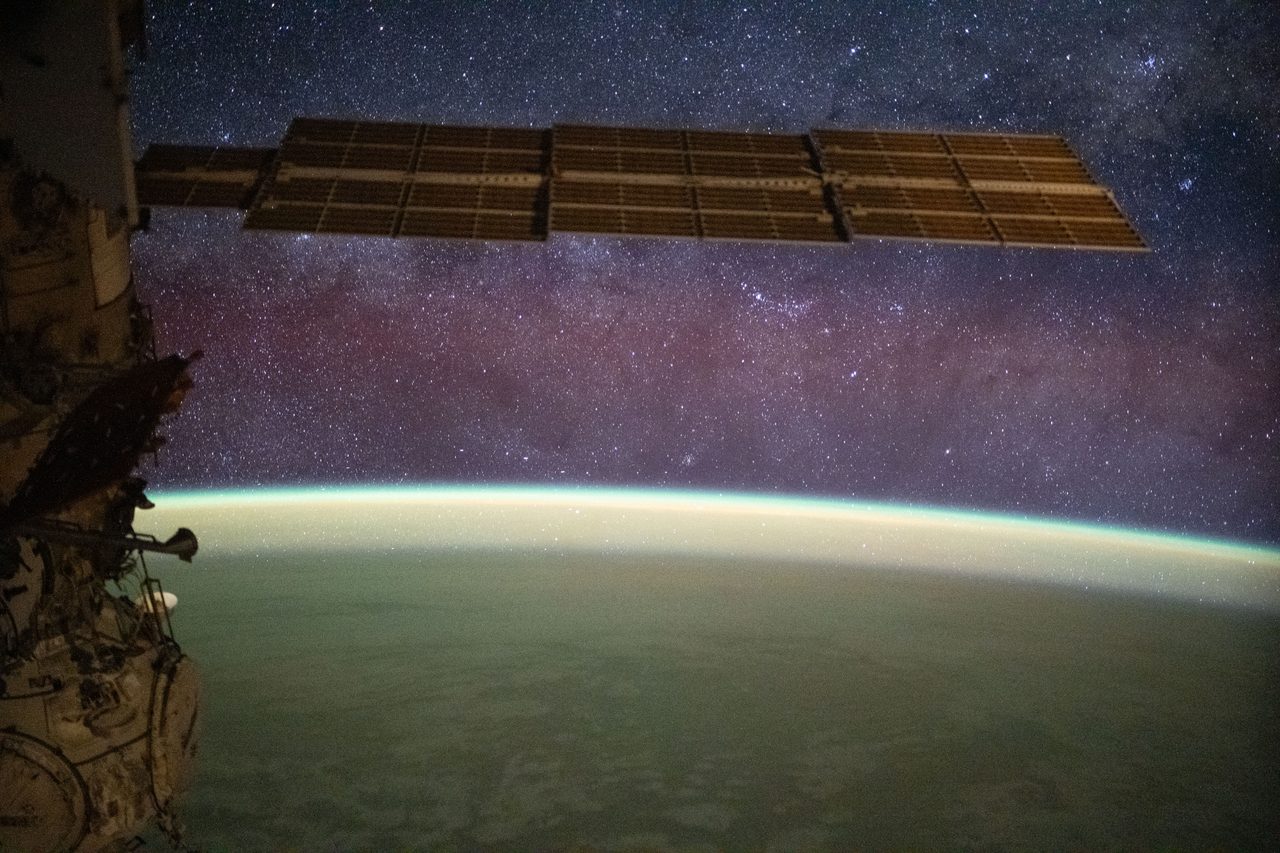
To capture the movement of a satellite across the sky, use a long exposure setting on your camera. Start with an exposure time of 10-30 seconds, adjusting based on the satellite's brightness and speed. This will create a trail effect, illustrating the satellite's path. Experiment with different ISO settings to achieve the desired brightness without introducing too much noise.
Editing Your Photos
Post-processing can enhance the details and colours in your satellite photographs. Software like Adobe Lightroom or free alternatives like GIMP allow you to adjust exposure, contrast, and colour balance. Cropping can help focus on the satellite trail, while noise reduction tools can improve the overall image quality.
Key Takeaways
Photographing satellites requires an understanding of their orbits, the right equipment, and precise timing. With practice, you can capture stunning images of these celestial objects. Use resources like the brightest satellites page to identify good targets, and refine your technique through experimentation and editing.
Frequently Asked Questions
What is the best time to photograph satellites?
Can I photograph satellites with a smartphone?
How do I find out when satellites will be visible?
What camera settings should I use for satellite photography?
Why do satellites appear as trails in photos?
📎 Cite this article
Orbital Radar Newsroom. (2026). How to Photograph Satellites: A Comprehensive Guide. Orbital Radar. https://orbitalradar.com/blog/how-to-photograph-satellites-guide"How to Photograph Satellites: A Comprehensive Guide." Orbital Radar, 7 July 2026, https://orbitalradar.com/blog/how-to-photograph-satellites-guide.@misc{orbitalradar_how_to_photograph_satellites_guide,
title = {How to Photograph Satellites: A Comprehensive Guide},
author = {{Orbital Radar}},
year = {2026},
howpublished = {\url{https://orbitalradar.com/blog/how-to-photograph-satellites-guide}}
}